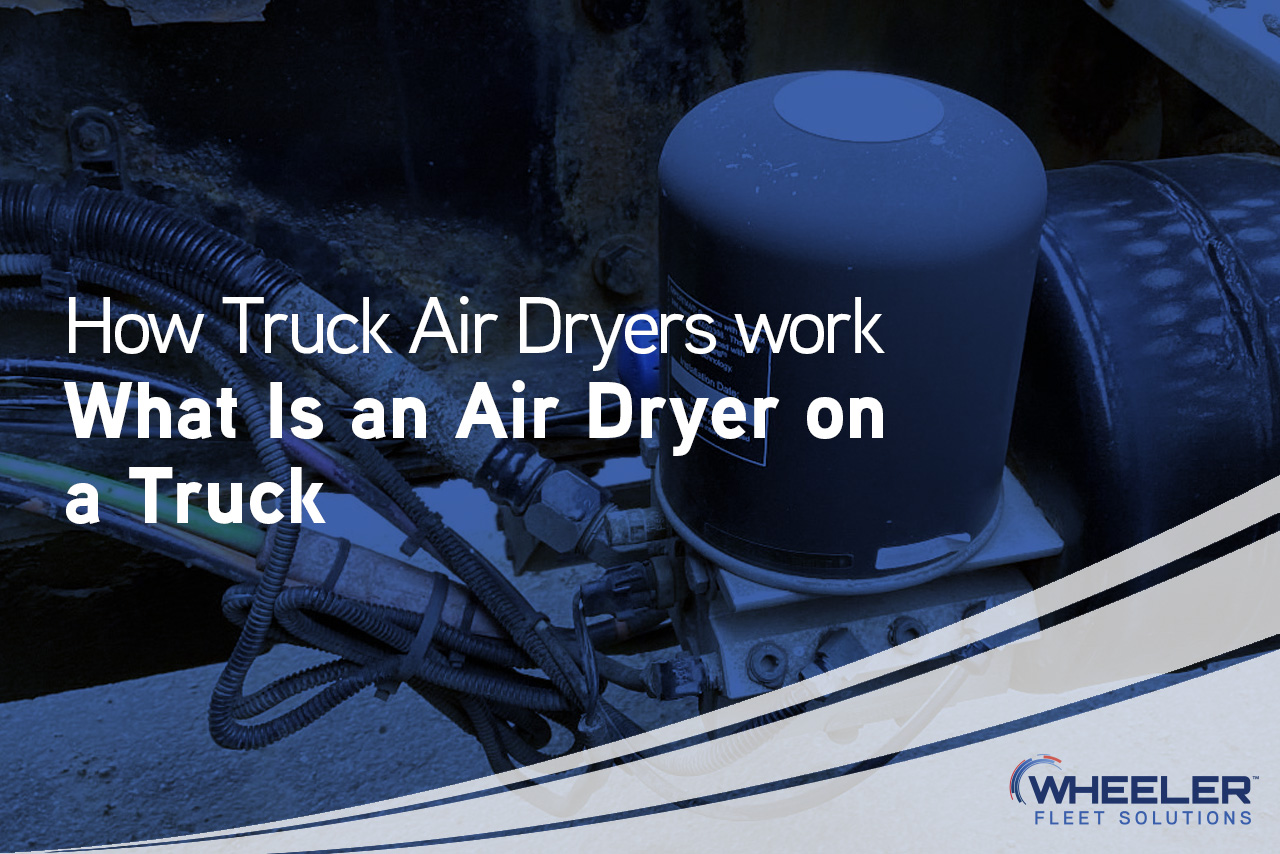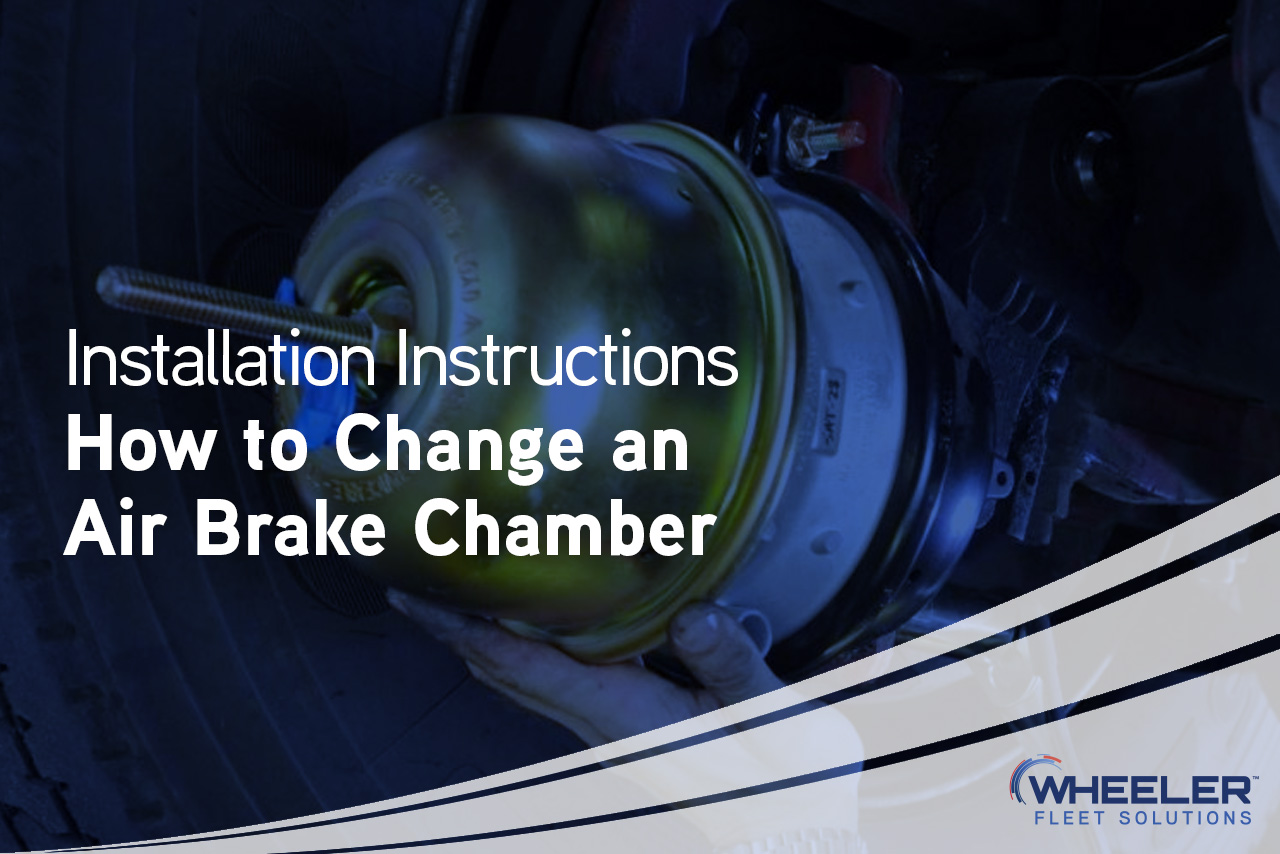
How to Change an Air Brake Chamber - Installation Instructions
Air brake chambers are the key components in the braking systems of commercial vehicles, playing an important role in ensuring the safety and reliability of trucks on the road. These devices convert the air pressure into mechanical force, which is necessary for applying the brakes and bringing heavy vehicles to a stop.
Over time, air brake chambers can wear out or become damaged, leading to decreased braking efficiency or potential safety hazards. Recognizing the signs of wear and understanding when to replace an air brake chamber is essential for maintaining a vehicle’s operational integrity and safety.
What is an Air Brake Chamber?
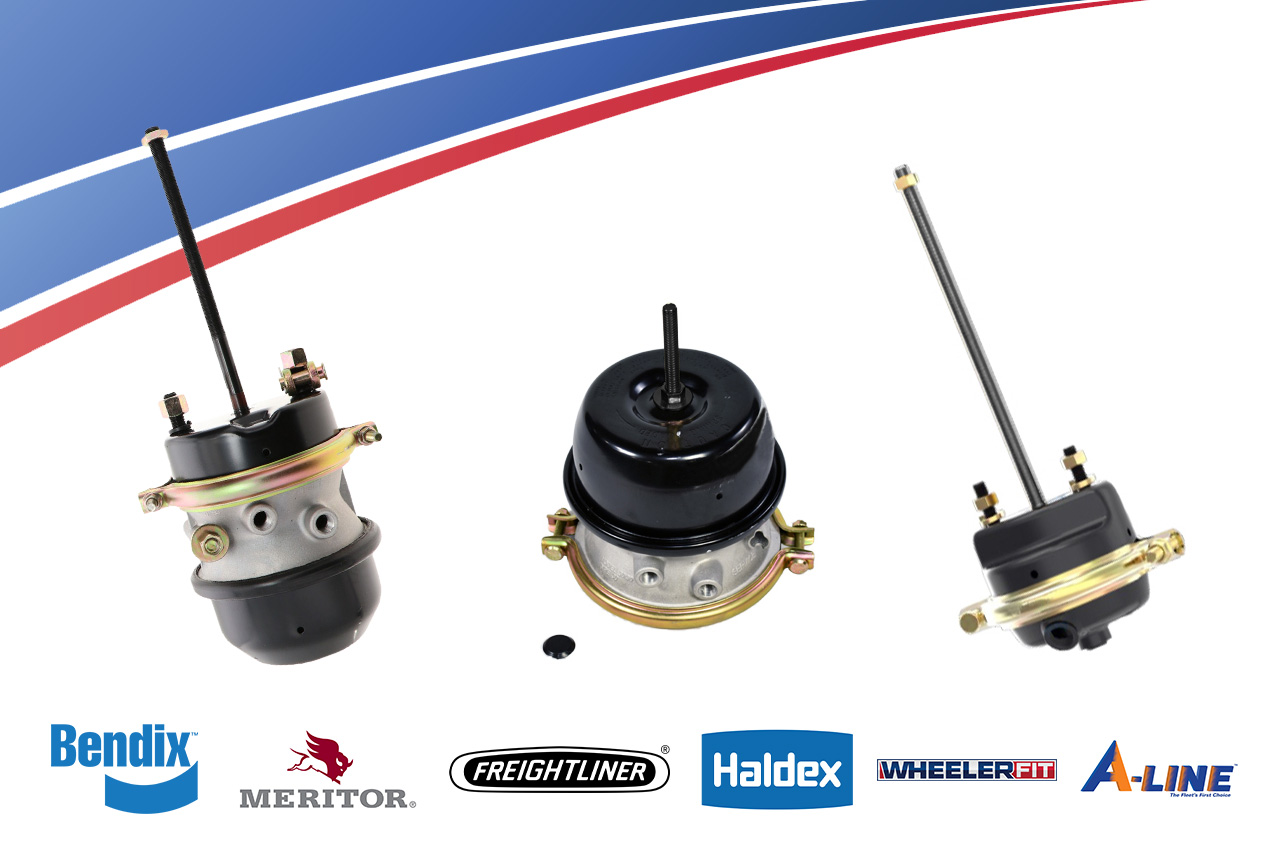
An air brake chamber is an essential component of the braking system found in heavy-duty vehicles such as trucks and buses. This device bridges the compressed air brake system and the mechanical parts that stop the vehicle. It consists of a cylindrical canister that houses a diaphragm and a pushrod.
When the brake pedal is engaged, compressed air is sent into the chamber, which exerts pressure on the diaphragm. This pressure then pushes the pushrod out, which, in turn, applies the brakes through the brake linkage or slack adjuster.
The role of the air brake chamber is critical for a couple of key reasons. First, it translates the air pressure into the mechanical force needed to apply the brakes. This transformation is important for the heavy-duty braking systems required by large vehicles, which need significantly more stopping power than manual force can provide. Second, it offers a level of safety not present in hydraulic systems.
Air brake systems, including the chambers, are designed with fail-safes; for example, if there’s a loss of air pressure, the system is designed to automatically apply the brakes, bringing the vehicle to a stop.
It is directly responsible for the effectiveness of the braking system. A well-functioning air brake chamber ensures that the vehicle can stop reliably and safely, which is essential for the safety of the driver and other road users. Regular maintenance and timely replacement of the air brake chamber are important for maintaining the vehicle’s braking efficiency and safety standards.
Preparing for the Replacement
Safety First
Before initiating the replacement of an air brake chamber, prioritizing safety is important.
- Secure the Vehicle: Ensure the vehicle is parked on a flat surface, and use wheel chocks to prevent it from moving. Engaging the parking brake is a must to maintain stability while working.
- Wear Protective Gear: Use safety glasses, gloves, and appropriate clothing to protect against potential hazards like sharp edges, grease, and debris.
- Depressurize the System: Before starting the work, it’s important to release all air pressure from the brake system to avoid accidents caused by the sudden release of compressed air.
- Follow Lockout/Tagout Procedures: If working in a professional setting, follow lockout/tagout procedures to ensure the vehicle cannot be started or moved while under maintenance.
Gather Tools
The right tools and equipment are essential for a smooth and efficient replacement process. Here’s a list of the necessary items:
- Socket Set and Wrenches: To remove and secure bolts and nuts.
- Screwdrivers: For any clamps or additional components that need to be loosened or adjusted.
- Pliers: For gripping and manipulating difficult parts to handle with your fingers.
- Air Brake Chamber Tool: A specialized tool designed to compress and hold the spring safely during the replacement process.
- New Air Brake Chamber: Ensure you have the correct size and type for your vehicle.
- Torque Wrench: For tightening bolts and nuts to the manufacturer’s specified torque settings.
- Safety Glasses and Gloves: To protect your eyes and hands during the process.
- Wheel Chocks: To secure the vehicle and prevent it from moving.
Identifying Signs of a Faulty Air Brake Chamber
Common Issues
- Decreased Braking Efficiency: If the vehicle takes longer than usual to stop or the braking feels uneven, it could be a sign of a failing air brake chamber.
- Visible Damage or Corrosion: Regular inspections might reveal cracks, rust, or other forms of damage on the chamber’s exterior. Such damage can compromise the integrity and functionality of the chamber.
- Leaks in the Diaphragm: Air leaks from the brake chamber when the brakes are applied indicate a torn or damaged diaphragm inside the chamber, necessitating a replacement.
- Abnormal Sounds: Squealing, hissing, or other unusual sounds coming from the brake chamber area when the brakes are applied can indicate internal issues.
Inspection Techniques
- Visual Inspection: Begin with a visual check of the air brake chamber for any signs of external damage, such as cracks, rust, or excessive wear. Pay attention to the condition of the mounting bolts and clamps to ensure they are secure and not corroded.
- Check for Air Leaks: Apply the brakes and listen closely for any hissing sounds indicating air leaks. Using soapy water around the chamber can help identify leaks, as bubbles will form where air is escaping.
- Measure Pushrod Travel: With the brakes applied, measure the distance the pushrod travels. Excessive travel can indicate a worn or failing chamber. Refer to the manufacturer’s specifications for the acceptable range of pushrod travel.
- Inspect the Diaphragm: While this may require partial disassembly or specialized tools, inspecting the diaphragm for tears or holes is important. Any damage found typically means the chamber needs to be replaced.
- Evaluate Spring Brake Operation: Make sure the parking brake applies and releases correctly with a spring brake chamber component. Difficulty in releasing or a failure to apply adequately can indicate internal problems.
Step-by-Step Air Brake Chamber Replacement Guide
Step 1: Prepare the Vehicle
Secure the Vehicle
Begin by parking on a level and stable surface to prevent movement. Engage the parking brake to ensure stability further. For added safety, place wheel chocks under both sides of the wheels to securely immobilize the truck or bus.
Release Air Pressure
Safety is essential, so you must release the brake system’s air pressure to prevent accidental brake engagement. Locate the air reservoirs and find the manual release valves. Open these valves to let the air out slowly. Wait until all the air has been released, indicated by the absence of a hissing sound, before proceeding.
Step 2: Remove the Old Chamber
Disconnect
Start by disconnecting the air lines connected to the chamber. Use a wrench to loosen and detach the fittings. It’s important l to remember or label each line to ensure correct reconnection later. Next, disconnect any linkage or rods attached to the chamber’s pushrod.
Removal Process
- Unbolt the Chamber: Remove the bolts securing the chamber to the vehicle’s frame or brake assembly using a socket wrench. Keep these bolts, as you may need them to install the new chamber.
- Remove the Chamber: Carefully remove the chamber from its position once unbolted. If the chamber is equipped with a caging bolt for the spring brake, make sure it is safely engaged before removal.
- Inspect the Area: With the chamber removed, inspect the area for any damage or wear that could affect the installation of the new chamber. Clean the area as needed.
Step 3: Install the New Chamber
Mounting
- Position the Chamber: Place the new air brake chamber in position, aligning it with the mounting holes.
- Bolt it Securely: Secure the chamber to the mounting surface using either the old bolts (if they are in good condition) or the new ones provided. Tighten the bolts evenly and securely, following any torque specifications provided by the manufacturer.
Secure Connections
- Connect Air Lines: Reattach the air lines to the chamber, ensuring a tight and secure fit. Use the labels or markings made earlier to ensure correct reconnection.
- Reconnect Linkage: Attach the pushrod to the brake linkage or slack adjuster, making sure it’s properly aligned and secured.
Step 4: Testing
Air Pressure Test
- Build Pressure: Start the vehicle to build air pressure in the system. Monitor the pressure gauge to ensure it reaches and maintains the correct level.
- Inspect for Leaks: With the system pressurized, check around the newly installed chamber and its connections for any air leaks. Listen for hissing sounds and use soapy water if necessary to identify leaks.
Brake Functionality Check
- Static Test: With the vehicle stationary, apply the brakes to ensure the pushrod extends and retracts correctly without any issues.
- Drive Test: Conduct a low-speed test drive in a safe area to test the brakes under real conditions. Pay attention to the responsiveness and effectiveness of the brake system.
- Adjustments: If you notice any issues with braking performance, check the pushrod adjustment and the tightness of all connections. Adjust as necessary to ensure optimal functionality.
Troubleshooting Tips
Common Challenges
- Air Leaks After Installation: One of the most common issues is discovering air leaks from around the newly installed chamber or its connections.
- Incorrect Pushrod Length Adjustment: Incorrect adjustment of the pushrod can lead to either insufficient braking force or constant drag on the brakes, causing premature wear.
- Difficulty in Removing Old Chamber: Corrosion or damage can make it challenging to remove the old chamber, especially the bolts securing it to the vehicle.
- Trouble Aligning the New Chamber: Proper alignment of the new chamber, ensuring it fits correctly and connects accurately to the brake system, can sometimes be difficult.
Solutions
For Air Leaks
- Double-check all connections, ensuring they are tight and correctly sealed. Use thread sealant on fittings if recommended by the manufacturer.
- Inspect the chamber and air lines for any damage that might have been missed initially. Small cracks or holes can lead to air leaks.
For Incorrect Pushrod Length Adjustment
- Refer to the manufacturer’s specifications for the correct pushrod length. Adjust the pushrod accordingly, usually by turning a threaded adjustment rod until the correct length is achieved.
- After adjustment, perform a brake application test to ensure the pushrod travels the appropriate distance when the brakes are applied.
For Difficulty in Removing Old Chamber
- Apply penetrating oil to the bolts, allowing it to soak in to loosen corrosion. In severe cases, heating the bolts with a torch might be necessary, but this should be done with extreme caution to avoid damage or injury.
- If bolts are stripped or broken, you may need to drill them out and use a bolt extractor tool to remove them.
For Trouble Aligning the New Chamber
- Loosely attach all mounting bolts before fully tightening them to allow for some movement and adjustment of the chamber for proper alignment.
- Ensure the brake system’s linkage and the chamber’s pushrod are correctly positioned to facilitate easy connection without forcing any components into place.
Post-Installation Maintenance
After successfully replacing an air brake chamber, establishing a routine for regular maintenance and monitoring is important to ensure the longevity and reliability of the braking system.
Inspection Routine
Regular Checks
Incorporate air brake chamber inspections into your regular vehicle maintenance schedule. This should include checking for air leaks, examining the condition of the chamber, and ensuring the pushrod adjustment remains correct.
Periodic Detailed Inspection
At least once every few months, or according to the vehicle manufacturer’s recommendation, conduct a detailed inspection of the air brake system, including the chambers. Look for signs of wear, corrosion, or damage to the chamber, mounting hardware, and connections.
Brake Performance Monitoring
Pay attention to the vehicle’s braking performance. Any changes in responsiveness or unusual noises during braking should prompt an immediate inspection to rule out issues with the air brake chambers or other system components.
Monitoring for Issues
Listen for Air Leaks
Be vigilant for the sound of hissing air from the brake system, which could indicate a leak. Leaks can reduce the efficiency of the braking system and lead to safety hazards.
Watch for Uneven Brake Wear
Uneven wear on brake pads or linings can indicate an improperly functioning air brake chamber, indicating that the pushrod adjustment may need attention.
Observe for Changes in Braking Response
Any noticeable change in how the brakes respond or feel when applied should be investigated. Delayed response or requiring more force than usual can indicate issues within the air brake system, including the chambers.
Check for Physical Damage
Regularly inspect the air brake chambers for any signs of physical damage, corrosion, or wear that could affect their performance. Ensure that the mounting area remains secure and free from damage.
Starting with the importance of safety and proper preparation, we’ve covered identifying signs of a faulty chamber, detailed the removal and installation process, offered troubleshooting tips, and emphasized the importance of post-installation maintenance.
For all your air brake needs, exploring options from a reliable supplier like WheelerFleet’s Air Brake selection can make all the difference in maintaining your vehicle’s safety and performance.
Whether updating your fleet’s air brake chambers or ensuring your hydraulic brakes are in top condition, our wide range of products is designed to meet your every need.
Don’t let maintenance challenges slow you down. Visit WheelerFleet today to explore our extensive inventory and find the perfect parts for your fleet.